How to fix patchy grass
The Ultimate Guide to Fixing Patchy Grass
Welcome to our comprehensive guide on fixing patchy grass, a common yet frustrating issue for many homeowners. Whether it's a few bare spots here and there or a lawn that's more patch than grass, we've got you covered. This guide will delve into the causes of patchy grass, the essential tools and materials for lawn repair, and provide a step-by-step guide on how to fix your lawn using grass seed or turf.
We'll also share some post-repair lawn care tips to ensure your lawn stays lush and green. Plus, we'll recommend some top-notch products for lawn repair. So, whether you're a seasoned gardener or a novice, this guide is designed to help you transform your patchy lawn into a verdant oasis.
So, grab your lawn feed, ready your grass seed or turf, and let's get started on your journey to a healthier, happier lawn.
Understanding the Causes of Patchy Grass
Before we delve into the solutions for patchy grass, it's crucial to understand the root causes. Patchy grass can be a result of various factors, from environmental conditions to pests and diseases. In this section, we'll explore these causes in detail, helping you identify what might be causing your lawn's patchiness. This understanding is the first step towards a lush, healthy lawn.
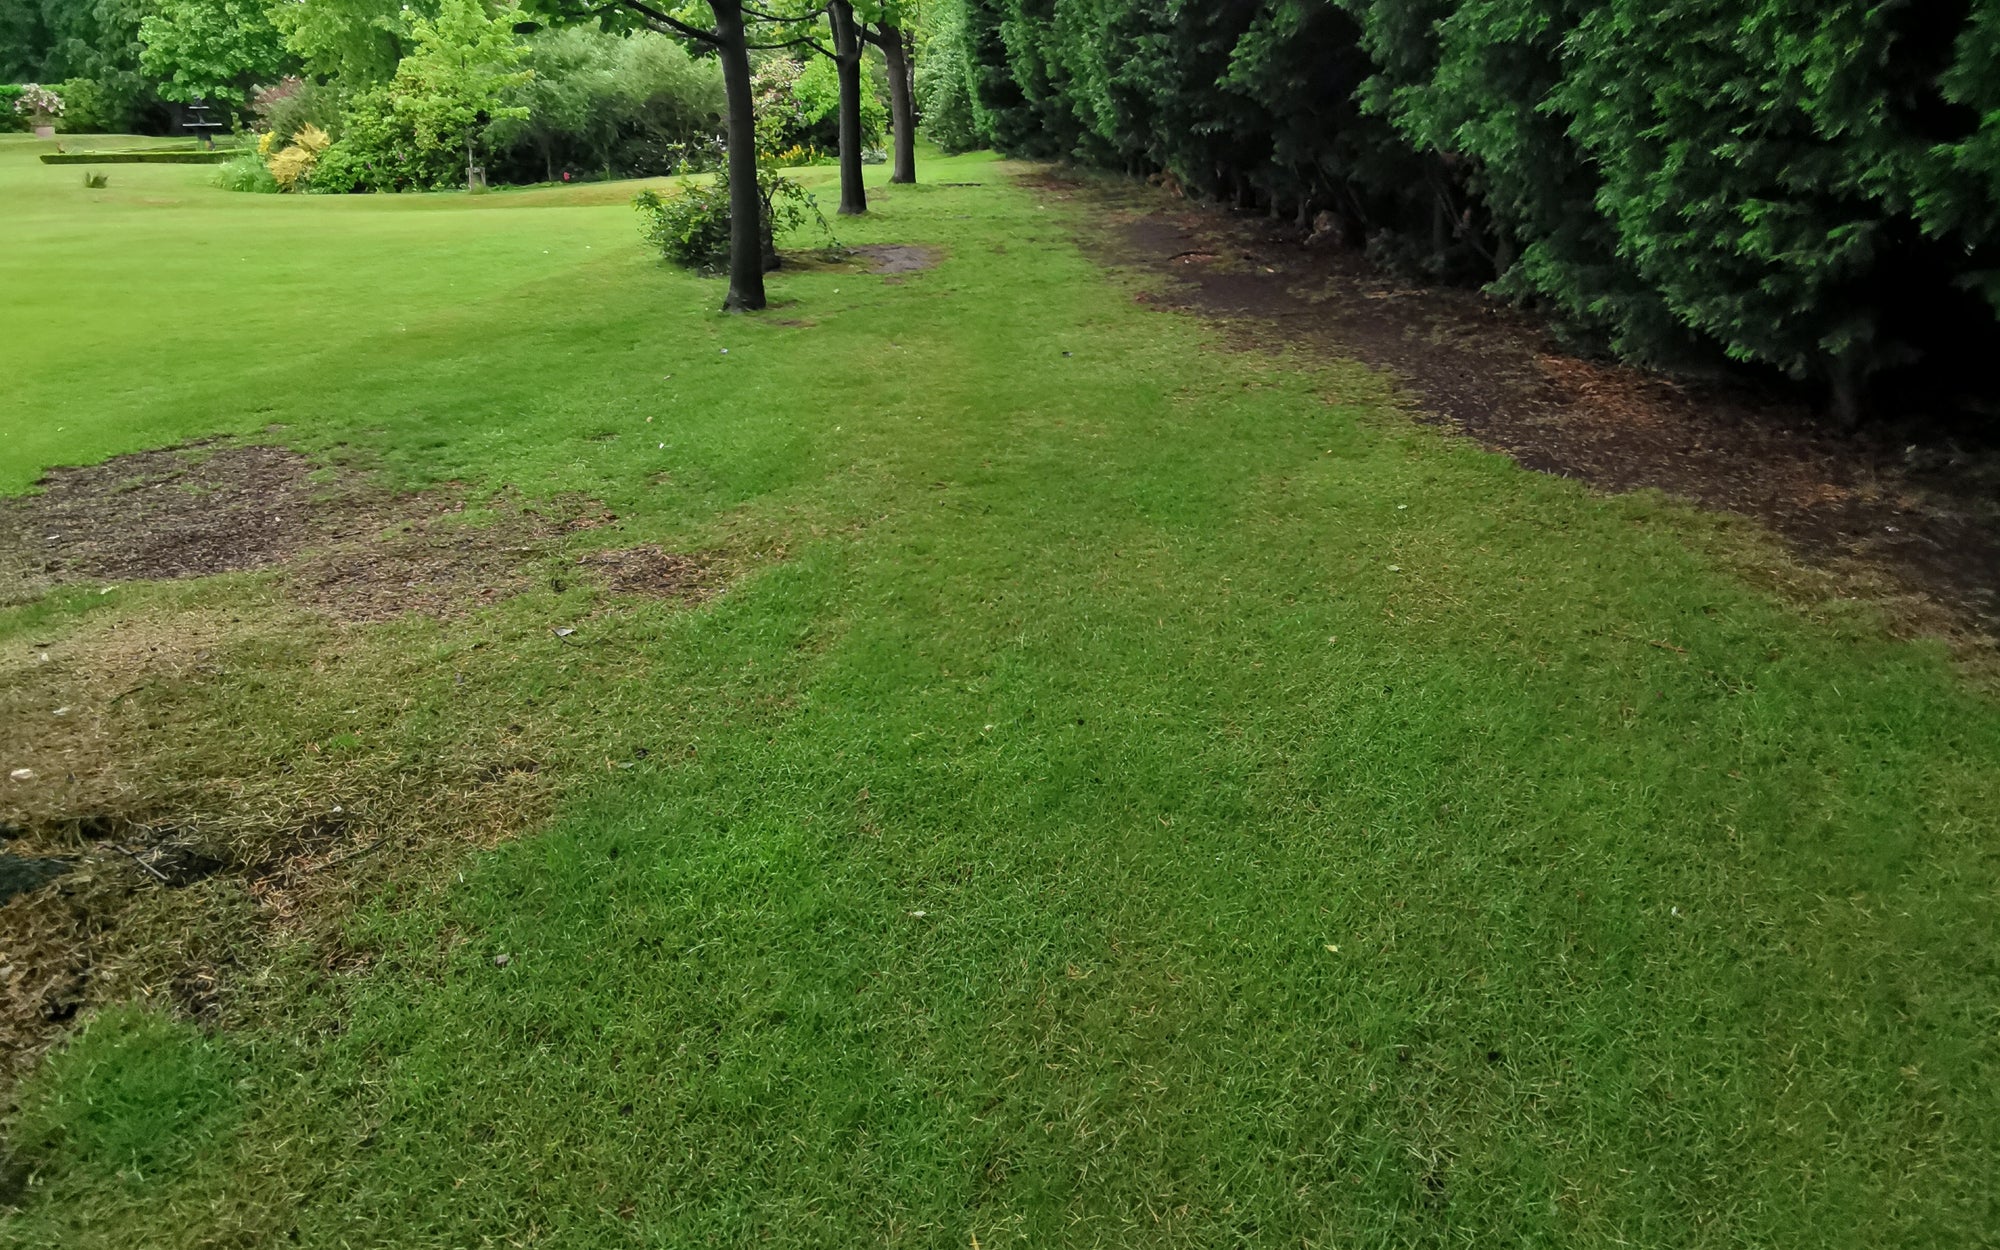
Common Reasons for Patchy Lawns
Patchy grass can be a homeowner's nightmare, turning a lush, green lawn into a blotchy, unattractive mess. But what causes this unsightly problem?
Firstly, pet urine, particularly from dogs, can cause patches in your lawn. The high nitrogen content in the urine can burn the grass, leading to discolouration and patchiness.
Secondly, environmental factors such as shade can also contribute to patchy grass. If your lawn doesn't get enough sunlight, it can struggle to grow, resulting in thin, straggly grass and bare patches.
Thirdly, pests and diseases can wreak havoc on your lawn. Insects like Beetles and grubs can create thin, patchy grass, while diseases such as powdery mildew can also cause damage.
Lastly, poor soil quality can lead to patchy grass. If your lawn's soil lacks nutrients or is heavily compacted, it can hinder grass growth. This is often the case in newly built homes where builders may scrape away the topsoil and replace it with a thin layer of poor-quality soil.
Understanding these common causes is the first step towards fixing your patchy lawn. The next step is identifying your lawn's specific issues, which we'll cover in the next section.
Identifying Your Lawn's Specific Issues
To effectively address patchy grass, it's crucial to identify the specific issues plaguing your lawn. One common culprit is pet urine, which can create unsightly patches. If you have a dog, this could be a significant factor.
Another issue could be the location of the patches. Are they under a tree or in a shaded area? If so, the variety of grass might be the problem. Some grass types require more sunlight than others, and if they're not getting enough, they can become patchy.
Seasonal changes can also affect your lawn. If the patches appear in spring and autumn, it might be due to grubs. Digging up an affected area to check for these pests can help you confirm this.
The duration of the problem is another factor to consider. How long have the patches been there? If they've been present for a while, it might indicate a more deep-seated issue, such as toxic tree roots or poor topsoil quality.
Lastly, consider getting a soil testing kit or contacting us for professional advice. We can help diagnose diseases, pests, and provide nutrient suggestions. By identifying the specific issues, you can take targeted action to restore your lawn to its former glory.
Essential Tools and Materials for Lawn Repair
Embarking on a lawn repair journey requires more than just determination. It's about having the right tools and materials at your disposal. From selecting the perfect grass seed to understanding the role of lawn food, and deciding whether to use turf or not, each step is crucial. Additionally, having the right equipment can make the process smoother and more efficient. Let's delve into the essentials for successful lawn repair.
Choosing the Right Grass Seed
Choosing the right grass seed is a critical first step in lawn repair. The seed you select should ideally match the existing grass type in your lawn to ensure a seamless blend. However, if the existing grass type is unknown or unavailable, opt for a mixture of grasses suitable for the UK like So & Mo Grass Seed.
Consider factors such as your lawn's micro-climate, whether it's predominantly in the sun or shade, and the time of year.
Avoid the temptation to over-seed. The seeds should be spread thickly enough to cover the surface but not piled on top of each other. Remember, some grass seed products come with a weak starter fertiliser and compost already mixed in, but our plain grass seed can be just as effective.
Finally, remember that perennial ryegrass should be part of the blend as it germinates quickly, providing a fast solution to your patchy lawn problem.
The Role of Lawn Feed
Lawn feed plays a pivotal role in the process of lawn repair. It's the nutrient-rich supplement that your grass craves, especially when it's trying to recover from damage.
The primary function of lawn feed is to provide a steady supply of nutrients that encourage robust grass growth. This growth is essential in crowding out weeds and withstanding the stresses of heat, drought, and normal wear-and-tear.
Remember, the right lawn feed, like So & Mo Lawn Feed, can make a significant difference in your lawn repair journey. It's the fuel that your grass needs to grow thick, strong, and healthy.
Why You Might Need Turf
Turf is a quick and effective solution for lawn repair, particularly when dealing with dead or damaged turf areas. Unlike seeding, which requires time for germination and growth, turf provides an instant lawn, making it an ideal choice for those seeking immediate results.
The use of turf is not limited to a specific season, allowing for flexibility in your lawn repair schedule. However, it's crucial to prepare the soil adequately before laying the turf to ensure successful integration with the existing lawn.
Turf is also a cost-effective option if you have multiple bare patches to treat. A single roll of turf, typically priced under £10, can provide numerous patches, offering a practical solution for extensive lawn repair.
However, turf requires careful maintenance during the initial weeks. It needs to be watered deeply and frequently until the roots grow into the soil beneath. This ensures the sod patch bonds well with the existing lawn and begins to grow actively.
In conclusion, turf is a valuable tool in lawn repair, offering quick results, flexibility, and cost-effectiveness. However, it requires careful preparation and maintenance to ensure successful integration with your lawn.
Other Necessary Tools and Equipment
When it comes to lawn repair, the right tools and equipment are as crucial as the grass seed and lawn food. A lawn mower and a rake are the basic tools you'll need. The mower keeps the grass at an optimal height, while the rake helps in removing dead grass and debris.
A seed spreader is another essential tool. It ensures even distribution of grass seed across your lawn, promoting uniform growth. For compacted soil, a core aerator can be beneficial. It perforates the soil, allowing water, air, and nutrients to reach the grass roots more effectively.
A spade or garden shovel is useful for digging holes or removing dead patches of grass. If you're dealing with a larger area, a lawn roller might come in handy. It helps in flattening the soil after seeding, ensuring the seeds make good contact with the soil.
Lastly, a garden knife can be useful for various tasks, such as cutting turf or dividing grass clumps. Remember, the right tools can make your lawn repair process smoother and more efficient.
Step-by-Step Guide to Fixing Patchy Grass with Seed
In this section, we'll walk you through a step-by-step guide to fixing patchy grass with seed. From preparing the area to spreading the seed and caring for your newly seeded lawn, we'll cover all the essential steps to transform your lawn from patchy to lush. So, grab your garden rake and let's get started on this lawn repair journey.
Preparing the Area
To begin the process of fixing patchy grass, the first step is to prepare the area. Start by raking the area to remove any debris or dead grass. This can be done using a garden rake. It's also a good time to check for any signs of grub damage. If the damaged patch of lawn lifts up easily, like a rug, you may have a grub problem that needs addressing.
Next, loosen the soil. This can be achieved by using a hard-toothed lawn rake or a garden cultivator. If the soil appears heavily compacted, consider aerating it with a core aeration tool. This simple manual tool cuts aeration holes in the soil when you drive it into the ground with your foot.
Finally, amend the soil. Sprinkle several inches of compost or loamy soil and mix it into the existing soil with the rake. Turn the rake upside down and use the top edge to even out the surface, spreading some of the topdressing into the adjacent areas. This preparation will create a conducive environment for the grass seed to germinate and grow.
Spreading the Seed
After preparing the area, the next step in fixing patchy grass is spreading the seed. Perennial ryegrass is a popular choice due to its quick germination.
Use a seed spreader to evenly distribute the seed over the patchy area. The thickness of the seed layer is crucial; it should be thick enough to cover the surface but not so thick that the seeds pile up on top of one another. 35 to 50 grams per square metre is perfect.
Once the seed is spread, cover the area with a thin layer of topdressing. This serves two purposes: it protects the seed from wind and water erosion, and it reduces moisture loss, which is vital for seed germination.
Avoid using fertilisers at this stage. While they were once recommended, most experts now suggest that fertilisers are not useful until after the grasses are well established.
Finally, lightly rake the seed to distribute it evenly and cover some of the seed with a thin layer of soil. This helps keep the seed in place and protects it from birds.
Remember, the key to successful lawn repair is patience and care. With the right seed, preparation, and care, your patchy grass will be lush and green in no time.
Caring for Your Newly Seeded Lawn
Caring for your newly seeded lawn is a crucial step in fixing patchy grass. The first step is to ensure that the seeds are adequately watered. This doesn't mean drowning the soil, but rather keeping it consistently moist. Depending on the weather, this could mean watering the area daily or even twice daily for the first two weeks.
The next step is to protect the seeds from external factors such as wind and birds. This can be achieved by spreading a thin layer of topdressing over the seeded area. This not only holds the seeds in place but also reduces moisture loss, which is vital for the germination process.
As the grass seedlings develop and start to fill in, you should gradually increase the amount of water the lawn receives. This ensures that the top two inches of soil is kept moist, promoting healthy root growth. Once the grass reaches mowing height, it's best to water deeply once or twice a week to encourage the grass roots to grow deep in the soil.
After a few weeks, it's time to feed your lawn. Providing the necessary nutrients will help your new grass grow lush and strong.
Finally, be patient. Wait until your lawn is at mowing height before you mow. This will ensure that your newly seeded lawn has the best chance of thriving and filling in those patchy areas. Don't let it grow too long however as then it will become leggy and sparse.
How to Repair Patchy Grass with Turf
When it comes to repairing patchy grass, turf is a quick and effective solution. This method involves cutting a turf patch slightly larger than the bare area on your lawn and placing it over the spot. The process may seem straightforward, but it requires careful execution to ensure the turf patch blends seamlessly with the rest of your lawn. Let's delve into the steps involved in repairing patchy grass with turf.
Choosing the Right Turf
Choosing the right turf is a crucial first step in repairing patchy grass. It's important to select a turf type that matches the existing grass in your lawn to ensure a seamless blend. The turf should be healthy, dense, and free from weeds or pests.
Consider the climate and soil conditions in your area. Certain grasses do well in sandy soil, while others require loamy or clay soil.
Remember, turf supplies at garden centres are often seasonal. Therefore, plan your lawn repair project accordingly to avoid disappointment.
Lastly, consider the size of the bare patches in your lawn. If you have several small patches, a single roll of turf, which is usually less than £10, can suffice. However, for larger patches, you may need to invest in more.
Choosing the right turf is not just about aesthetics, but also about ensuring the longevity and health of your lawn.
Cutting and Placing the Turf Patch
When it comes to repairing patchy grass, the use of turf is a quick and effective method. The first step involves cutting a turf patch that is slightly larger than the bare area on your lawn. This can be done using a sharp shovel or garden knife, ensuring that the patch extends about 2 inches beyond the edges of the bare spot.
Once you've cut the turf patch, place it over the bare spot. Using your shovel or garden knife, trace around the turf patch into the healthy lawn surrounding the bare spot. This will help you to create a perfect fit for the turf patch.
Next, remove the turf patch and proceed to remove the dead grass and the ring of healthy grass around the bare patch. A hand cultivator can be used for this purpose. The goal here is to dig down slightly so that the turf patch will sit at the same level as the rest of your lawn.
After preparing the soil, place the turf patch into the excavated area. Compress it into the ground by walking on it repeatedly. This will help the turf patch to bond with the soil and start growing actively.
Finally, water the turf patch immediately and repeat watering two or three times a day for several days. This will ensure that the turf patch is well hydrated and ready to grow. Remember, your turf patch should be seamless and indistinguishable from the rest of your lawn within two weeks or so. However, it may take up to six weeks to be fully rooted.
Maintaining Your Turfed Lawn
After successfully placing your turf patch, it's crucial to maintain it properly to ensure its growth and integration with the rest of your lawn. The first step is to water the turf patch immediately after placement. This should be done two to three times a day for several days. This frequent watering helps the turf patch bond with the soil and encourages active growth.
Within two weeks, your turf patch should blend seamlessly with the rest of your lawn. However, it may take up to six weeks for the turf to be fully rooted. Don't be alarmed if the turf patch initially appears a different colour; this will soon fade.
As the turf patch grows, it's important to adjust your watering routine. Once the grass seedlings develop and start to fill in, gradually increase the amount of water the lawn receives. This ensures the top two inches of soil remain moist, promoting deep root growth.
After the grass reaches mowing height, it's best to water deeply once or twice a week. This encourages the grass roots to grow deep in the soil, resulting in a thick, more drought-resistant lawn.
Lastly, be patient. Wait until your lawn reaches mowing height before you mow. This allows the new grass to establish itself and prevents damage to the young, tender shoots. With proper care and maintenance, your turfed lawn will soon be lush and green, indistinguishable from the rest of your lawn.
Post-Repair Lawn Care Tips
After successfully patching your lawn, the journey doesn't end there. The next crucial step is to ensure that your lawn remains healthy and vibrant. This is where post-repair lawn care comes into play. From watering and feeding your lawn to controlling weeds and pests, and finally, mowing and maintenance, each step is vital in maintaining the lushness of your lawn. Let's delve into these lawn care tips to help you keep your lawn in top-notch condition.
Watering Your Lawn
Watering your lawn is a crucial part of post-repair lawn care. It's not just about the frequency, but also the depth and timing of watering. For the first two weeks, lightly water the newly seeded or sodded areas daily. The aim is to keep the top inch of soil consistently moist, but not soggy.
As the grass seedlings develop and start to fill in, gradually increase the amount of water. The top two inches of soil should be kept moist. This encourages the grass roots to grow deep in the soil, leading to a healthier lawn.
Once the grass reaches mowing height, it's best to water deeply once or twice a week. A good, thorough soaking rather than a quick watering will ensure that the water gets down to the root system. This helps roots grow strong and deep, resulting in a thick, more drought-resistant lawn.
Remember, overwatering can be as harmful as underwatering. Too much water can lead to disease and fungus, while too little can cause the grass to dry out and die.
The best time to water your lawn is early in the morning, when the sun is less intense. This allows the water to soak into the soil before it can evaporate.
In conclusion, proper watering is a key aspect of lawn care. It helps to maintain a lush, green lawn and prevents the recurrence of patchy grass.
Feeding Your Lawn
Feeding your lawn is a crucial step in maintaining its health and vibrancy. After the initial repair, your grass will need a steady supply of nutrients to grow thick and strong. This is where our lawn feed comes into play.
The feeding process should be done every 8 weeks. This regular feeding schedule ensures a consistent supply of nutrients, promoting robust grass growth that can crowd out weeds and withstand environmental stresses.
Remember, the key to a lush, green lawn is regular and proper feeding. So, don't skip this crucial step in your post-repair lawn care routine.
Weed and Pest Control
After you've repaired your lawn, it's crucial to keep weeds and pests at bay. Weeds can compete with your grass for nutrients, water, and sunlight, while pests can cause significant damage to your lawn.
Remember, it's essential to read and follow the label directions before applying any product to your lawn.
In conclusion, effective weed and pest control is a vital part of post-repair lawn care. It ensures your newly repaired lawn remains healthy and lush.
Mowing and Maintenance Tips
After you've successfully repaired your lawn, it's crucial to maintain it properly. Mowing is a key aspect of this maintenance. However, it's not as simple as just cutting the grass whenever it seems too long. There are a few tips you should keep in mind.
Firstly, don't rush to mow your newly repaired lawn. Wait until the grass reaches a height of about 3½ to 4 inches. This allows the grass to establish strong roots and reduces the risk of damaging the new growth.
Secondly, ensure your mower blades are sharp. Dull blades can tear the grass, leading to a ragged edge that can make your lawn look brown and unhealthy. Regularly sharpening your mower blades can help you achieve a clean cut.
Lastly, don't cut your grass too short. This can stress the grass and make it more susceptible to pests and diseases. As a general rule, never remove more than one-third of the grass blade at a time.
Remember, proper mowing is an essential part of lawn care. By following these tips, you can help your lawn stay lush and healthy.
Essential Lawn Care Tools
In the quest to restore a patchy lawn, the right tools can make all the difference. A lawn mower is a fundamental tool for maintaining a healthy lawn. It helps keep the grass at an optimal height, promoting even growth and reducing the chances of weed invasion.
A garden rake and hand cultivator are also essential. They help in removing dead grass, aerating the soil, and preparing the ground for seeding. For larger lawns, a core aerator can be a worthwhile investment. It removes small plugs of soil, allowing water, air, and nutrients to penetrate deeper into the ground, promoting healthier grass growth.
A seed spreader is another indispensable tool. It ensures even distribution of grass seeds across your lawn, increasing the chances of successful germination. For those dealing with compacted soil, a lawn roller can be beneficial. It helps flatten the ground, making it easier for the grass seeds to establish.
Lastly, a spade or garden shovel is necessary for digging and turning the soil, especially when preparing to lay sod. For more precise tasks, a garden knife can come in handy. It's perfect for cutting turf, removing weeds, or making small holes for planting grass plugs.
Remember, the right tools can significantly ease your lawn repair journey, making it more efficient and successful.
Achieving a Lush, Green Lawn Free of Patchy Grass
In conclusion, repairing patchy grass may seem like a daunting task, but with the right tools, materials, and a bit of patience, you can transform your lawn into a lush, green oasis. Remember, the key to successful lawn repair lies in understanding the root cause of the patchiness, choosing the right grass seed or turf, and providing the necessary care post-repair.
Whether you're dealing with a small patch or a large area, the steps outlined in this guide will help you navigate the process with ease. From preparing the area and spreading the seed to maintaining your newly seeded or turfed lawn, each step is crucial in achieving a healthy, vibrant lawn.
Finally, don't forget that lawn care doesn't end with repair. Regular watering, feeding, and maintenance are essential to keep your lawn looking its best. With these tips in mind, you're well on your way to saying goodbye to patchy grass and hello to a beautiful, green lawn.
Ready to be proud of your garden?
Ensure your lawn never goes hungry with our personalised feeding plan. Delivered through you letterbox exactly when you need it.